How to accept Apple Pay and Google Pay on your website without building a checkout
How to accept Apple Pay and Google Pay on your website through a hosted checkout: no domain files or code, what they cost, how to enable them and test.
On this page
To accept Apple Pay and Google Pay on your website, the simplest route is a hosted checkout that already offers them: you send the buyer to the checkout, and they pay with the card already saved on their phone or in their browser — one tap and a fingerprint or face check, instead of typing a card number. There is no Apple Pay domain file to host and no wallet code to write.
This guide explains how Apple Pay and Google Pay work at a hosted checkout, what they cost, how to switch them on with KukoPay, and how to test them before going live.
Why offer Apple Pay and Google Pay?
- Speed on mobile. Typing a 16-digit card number, expiry and security code on a phone is where many mobile checkouts are abandoned. A wallet replaces all of it with one confirmation.
- Fewer typing mistakes. The card details come from the wallet, so there is no wrong digit to cause an
incorrect_numberorincorrect_cvcdecline — see card decline codes explained. - Authentication built in. The buyer approves on their own device, with Face ID, Touch ID or the phone's lock, which issuers trust.
- Familiar to international buyers. For many buyers abroad, the wallet button is the payment method they look for first.
How Apple Pay and Google Pay work at a hosted checkout
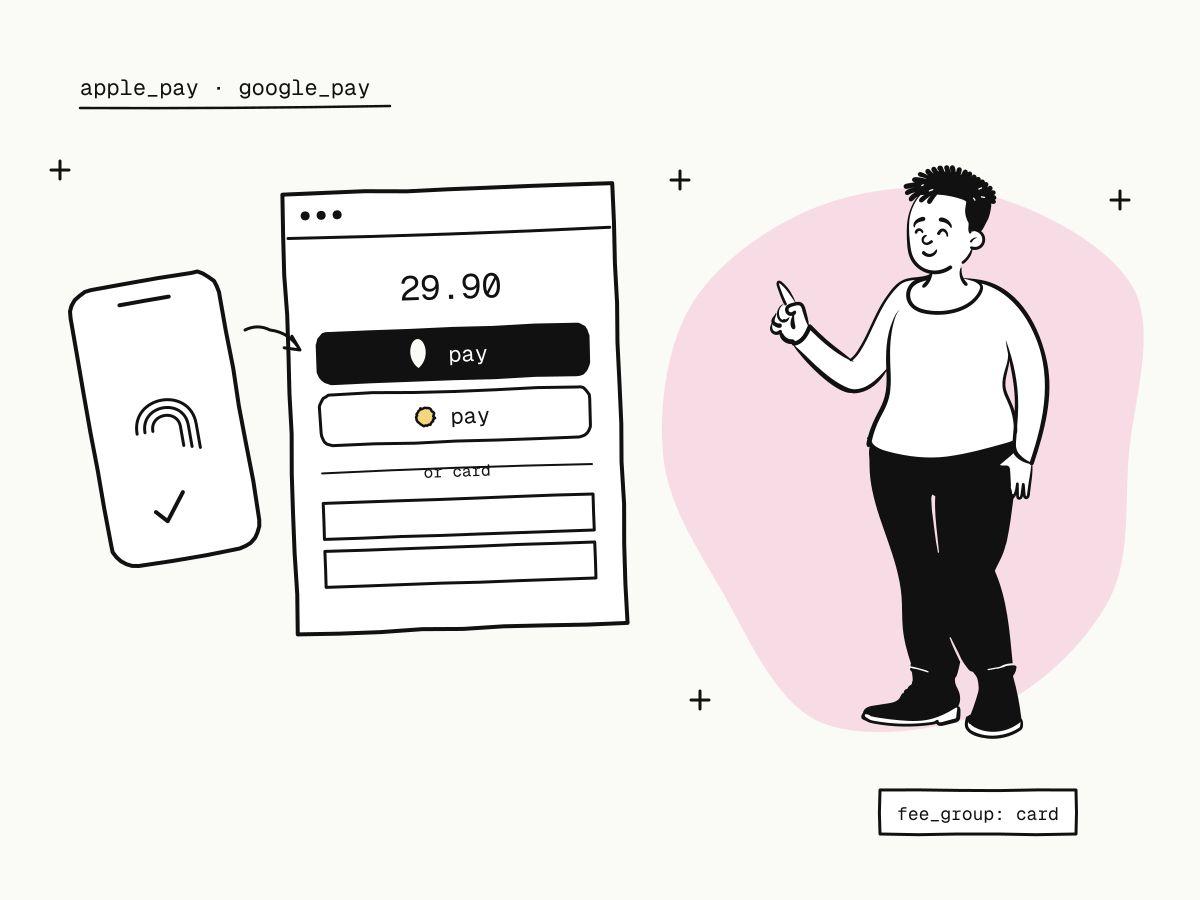
On KukoPay's hosted checkout, Apple Pay and Google Pay appear as one-tap buttons above the card fields:
- You create an order and redirect the buyer to the
checkout_url, as for any payment — see what is a hosted payment page. - The checkout shows the wallet buttons the buyer's device and browser can use, above the card form.
- The buyer taps, confirms on their device, and the payment completes like a card payment.
- You are told by the
payment.succeededwebhook, exactly as for a card.
Apple Pay works outside Safari too. On other browsers the buyer can still choose Apple Pay and confirm by scanning a code with their iPhone.
Because buyers pay on the hosted checkout, you do not register your own domain with Apple or Google, host a verification file, or handle wallet tokens — that is the checkout's job, not yours.
What do Apple Pay and Google Pay cost?
Apple Pay and Google Pay run over the card networks, so they are priced as cards: they belong to the card fee group. At standard pricing that is 3.5% plus the order currency's fixed fee ($0.30 on USD, HK$2.35 on HKD, ¥2.00 on CNY) per successful payment — the same as a card payment, with no extra wallet fee. The rate agreed for the card group applies to all three. How cross-border payment fees are calculated works through the formula.
Refunds and chargebacks follow card rules too: refund as usual (partial refunds explained), and a buyer can still dispute a wallet payment with their bank (chargeback guide).
How to enable Apple Pay and Google Pay on KukoPay
Check what is enabled
A live account starts with a base set of payment methods chosen at approval. Open Settings → Payment methods in the dashboard to see which are on.
Request the wallets if needed
Click Request next to Apple Pay or Google Pay and describe your business. Each method is reviewed on its own; the outcome is emailed to the account's owners and admins. Only the account owner can request methods.
Keep cards enabled
The wallet buttons sit on the card form, so Apple Pay and Google Pay are offered together with card payments. Keep cards enabled alongside them.
Create orders as usual
Nothing in the API changes. Every order's checkout offers the enabled methods; you can hide any of them from the checkout yourself at any time.
Which buyers will see the wallet buttons?
The checkout shows a wallet only where it can work:
- Apple Pay on Apple devices with a card set up in Wallet — and, on other browsers, through the scan-with-iPhone flow;
- Google Pay in browsers and on Android devices where the buyer has a card saved to their Google account.
A buyer without either still sees the card form and any other methods you offer, such as Alipay, WeChat Pay or PayPal — see how to accept international payments on your website.
How to test Apple Pay and Google Pay
In the sandbox, every payment method is available without a request. Choosing Apple Pay or Google Pay opens a test authorization page where you choose to authorize or decline, so you can check both outcomes and your webhook handling without a real wallet. The full set of sandbox scenarios is in test credit card numbers for payment testing.
After going live, make one small real payment with a phone wallet and refund it, to confirm the whole path end to end — see sandbox vs live mode.
Summary
- The easiest way to accept Apple Pay and Google Pay on your website is a hosted checkout that offers them — no domain files, no wallet code;
- on KukoPay they appear as one-tap buttons above the card fields, and Apple Pay also works outside Safari via a scan with an iPhone;
- they are priced as cards (the
cardfee group) and refunded and disputed like cards; - request them under Settings → Payment methods, keep cards enabled, and create orders as usual;
- test both outcomes on the sandbox's test authorization page, then run one real payment after going live.
Try it in the sandbox
Create a merchant account and request a test key. The sandbox needs no business verification.